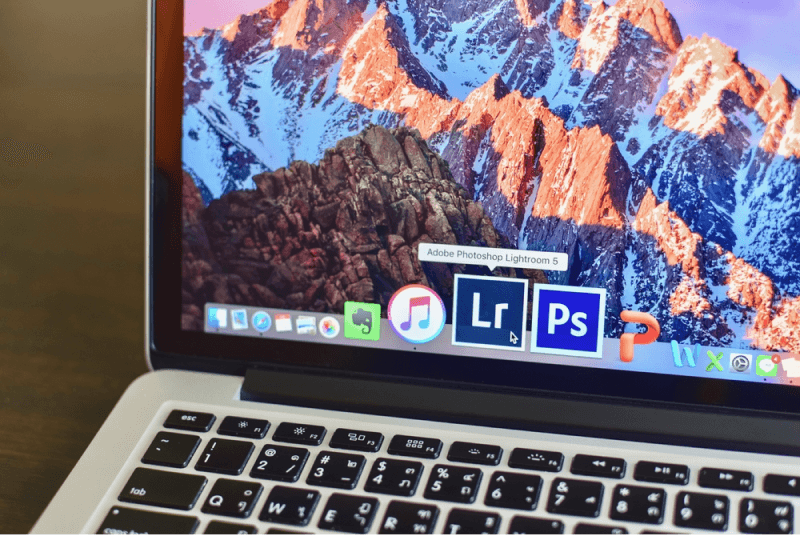
How to Retouch Jewelry Photos in Lightroom
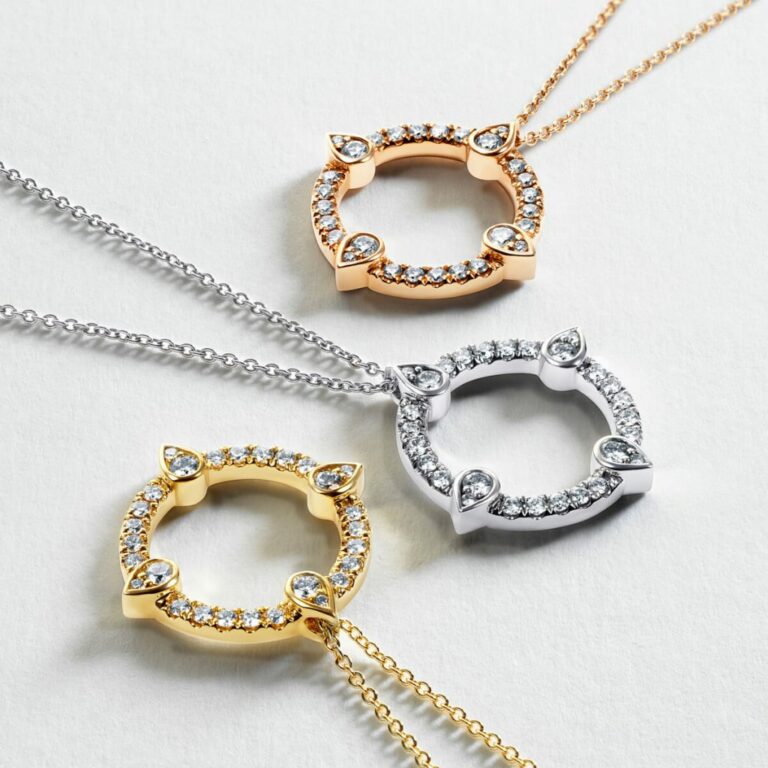
High-quality jewelry photos are essential for making the right impression on your customers. Whether you’re a jewelry designer or business owner, having sharp and professional-looking product images is a must. But how can you make sure each photo looks its best? Here’s how to edit jewelry photos in Lightroom for a truly professional look.
How to Use Lightroom for Jewelry Photo Editing
Play with Brightness and Contrast
Jewels are meant to sparkle, so your photos must reflect that. When retouching jewelry in Lightroom, take a look at the overall brightness of your photo. Adjust it to make sure the jewelry shines. You may also want to add more contrast between light and dark areas in the image. This will help to make the jewelry stand out and look its best.
Correct the White Balance
Another crucial step when editing jewelry photos in Lightroom is making the white balance accurate. This will help ensure that colors look natural and true to life. You can adjust the white balance manually or use a preset to fine-tune your photo’s colors.
The White Balance Tool in Lightroom also allows you to select specific color temperatures for different parts of the image, which can be useful for photographing jewelry with different colored stones.
Pro tips:
- Make sure to use the White Balance Tool in Lightroom’s Color panel.
- Adjust the temperature and tint sliders until you get a natural-looking color.
- If you are working with multiple colors, try using the white balance tool on each area separately.
- For images taken outdoors, try adjusting the tint slider to give the image a more natural look.
- When working with jewelry that contains different colors, try using selective adjustments to bring out details in each stone.
Adjust the Color
When you’re photographing jewelry, you’ll want to make sure that the colors really pop! The easiest way to do this is to adjust the hue, saturation, and luminance of the colors in your photo. This will give the jewelry a more balanced look.
You can also use selective tools to make sure one part of the jewelry stands out more than another. For example, you might want to highlight the stone in a ring by making it brighter than the rest of the ring. By playing around with the colors in your photo, you can really make the jewelry stand out.
Change the Sharpening and Noise Reduction
Once you’ve set up your basic adjustments, it’s time to sharpen and reduce noise in your image. The Sharpening slider will help bring out texture details like stones or metal parts of the jewelry item without making it look over-sharpened or artificial. The Amount slider should be kept relatively low—no higher than 25—while adjusting the Radius, Detail, and Masking settings until you achieve an acceptable level of sharpness without introducing artifacts into your photo.
You can also remove digital noise from your image using Lightroom’s powerful noise reduction tools.
Pro tips:
- Start with the sharpening Amount slider set to zero and slowly increase it until you get the desired look.
- When adjusting noise reduction, be careful not to introduce too much blur or soften details.
- Use a low radius setting when sharpening to avoid creating halos around edges.
- If you find that the edges of your jewelry item look artificial, reduce the amount of sharpening.
- If you are working with larger images, you may need to use a higher radius setting to get good results.
Maximize Shadows and Highlights
Lightroom’s Shadows and Highlights tools are great for fine-tuning your photos. Both of these tools allow you to selectively adjust the shadows and highlights in an image without affecting the mid-tones. This is particularly useful when working with jewelry, as it can help bring out subtle details and make them stand out more.
Pro tips:
- Use the Selective Adjustment Brush to isolate specific areas of your jewelry photo and adjust them separately.
- Make sure not to push the shadows and highlights too far, as they can make an image look unnatural if over-processed.
- If you’re working with multiple shots of the same jewelry piece, try to adjust the shadows and highlights the same way across all of them. This will help create a more consistent look in your photos.
Utilize Masks

Masks are a great way to edit specific parts of a jewelry photo in Lightroom without affecting the whole, which makes it especially useful in jewelry retouching. It allows you to make subtle adjustments that won’t be noticeable in the overall photo. Masks can be used to blur out background elements or draw attention to certain details, helping your photos stand out.
Pro tips:
- Use a low opacity for your mask, as this will help make the effect more subtle and natural-looking.
- Take time to experiment with different brush sizes and settings to get the best results for your photos.
- Pay attention to the edges of each masked area, as they can be a giveaway that you’ve made adjustments to the image.
Use Spot Healing When Necessary
Finally, you’ll want to use the Spot Healing tool to remove any dust or flaws from your jewelry photos. This will help create a clean look and make it easier for viewers to appreciate your work. To do this, simply select the Spot Healing brush in Lightroom and use it to remove any unwanted elements.
Pro tips:
- Take time to zoom in on your image so that you can see any flaws more clearly.
- Work from the top down when using the Spot Healing brush, as this will help keep everything consistent and neat.
- If something still looks a bit off after spot healing, try adjusting the Clarity and Sharpening settings to make any remaining flaws less noticeable.
Try Out Presets and Creative Effects
If you’re not too confident in your lightroom skills or don’t have the time to go through a jewelry retouching on Photoshop guide, a quick fix is to try out presets and creative effects!
Lightroom presets are great for quickly tweaking important settings with just one click instead of manually adjusting multiple sliders each time you edit a new photo. Presets can save you a lot of time when editing multiple images that share similar characteristics such as color temperature or exposure levels.
You can also add creative effects like vignettes or split toning to give your jewelry photos an extra bit of visual interest while still keeping them looking professional and well-balanced.
Pro tips:
- When using presets, pay attention to how they affect the overall look of your image and adjust any settings that don’t quite fit.
- Creative effects like vignettes and split toning should be used sparingly to avoid making an image look overdone.
- Experiment with different preset combinations to see which ones work best for your particular jewelry photos.
Lightroom is an incredibly powerful tool for quickly retouching jewelry photos with professional results—but it takes some practice to master all its features! With some patience and trial-and-error experimentation, you’ll soon find that it’s not so difficult after all when it comes to editing jewelry photos for maximum impact with Lightroom’s advanced tools and presets. Once you’ve got everything down pat, you’ll be churning out beautiful product images in no time!
If you’re still feeling a little lost in Lightroom and would rather seek professional help, we’re here for you! Jewelry Retouchers can make your jewelry photography sparkle. We also offer a range of jewelry photo retouching services, so you don’t have to worry about doing it yourself. Talk to us today to learn more!