9 Tried-and-Tested Tips for Taking Pictures of Gemstones
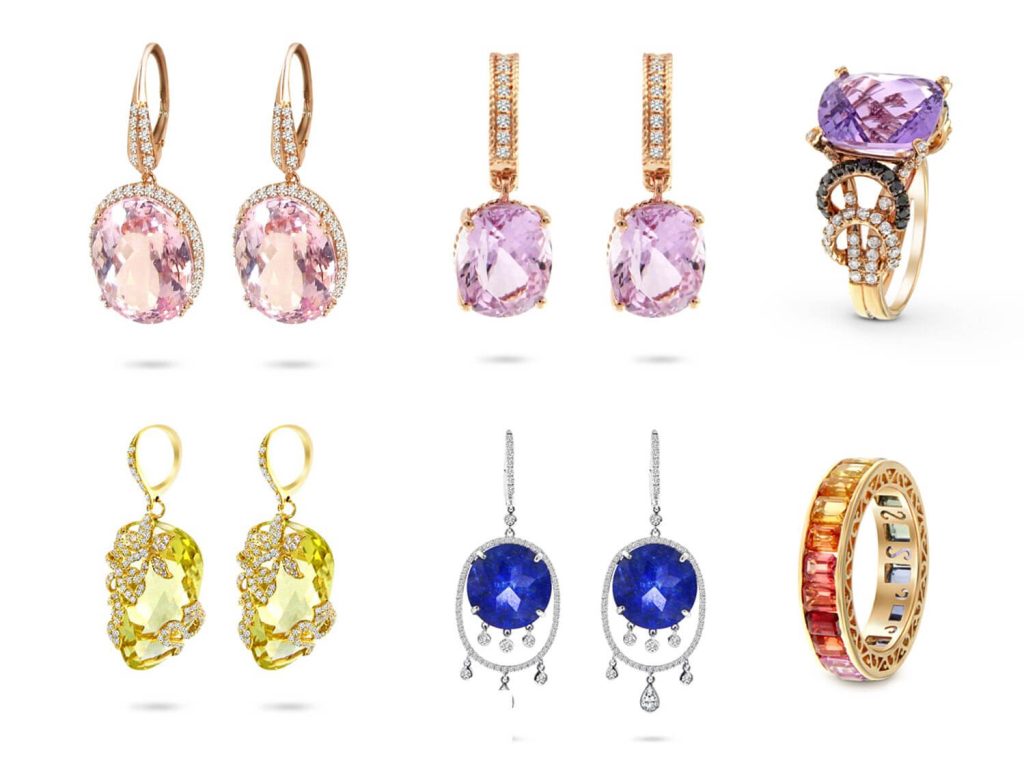
Gems are colorful stones prized for their beauty and durability. Different gems come in different colors or no color at all. Like diamonds, gems are formed in the earth and, when polished and shaped, become the shiny stones we know.
There’s no doubt about the beauty of gemstones. The challenge for photographers, however, is capturing their iridescence. Learn how to capture their true beauty with these photography tips for gemstones:
Gemstone Photography Tips from the Pros
Choosing Gemstones to Photograph
The foundation of your photos is the gem. So, it is a must to use the best gemstone available. A well-cut stone is symmetrical, centered, and doesn’t show light leakage—it is aesthetically pleasing to the eye. Stones like this will also photograph better.
Don’t forget to polish and clean the gems before the shoot! Polishing will make them look shinier and remove dust, so you’ll have fewer things to edit out later.
Camera Specifications for Gemstone Photography
The next most important thing is your camera. Gemstone photography has specific requirements.
When taking photos of gemstones, you need to focus on the subject and capture high-quality images. To do this, you need a high-resolution camera that can support extreme close-up.
Professionals recommend pairing a DSLR camera with at least 16 megapixels and a high f-number. Pair that with a 60-80 mm macro lens.
A tripod will also come in handy to minimize camera shake, especially for long shutter speeds.
Other Tools to Stage the Gems
As you take pictures in your shoot, you’ll probably find yourself turning the gems around to get the perfect shot. You’ll need tools to help you maneuver and hold the items in place, such as sticky wax, tissue paper, tweezers, and gem cloths.
Sticky wax hold gems in place while being almost invisible, making it easier to edit the jewelry photos after. But it sometimes leaves residue on backdrops. To avoid this, pros insert a tissue paper between the wax and the surface.
Gem cloths are a nice addition to keep the gems free of fingerprints and dust.
Lighting Considerations
What makes gems stunning is the way they reflect light. And the key to a good gem image is lighting.
Lighting may be a little tricky because gem cuts interact with light differently. So, each type requires unique lighting considerations. Professionals know that there is no true “correct” lighting setup.
Most tips on how to hold photoshoots for gemstones include a lightbox or a light tent. These would enclose the subject, giving you more control over the environment. With a lightbox or light tent, it’s easier to minimize shadows and achieve uniform lighting.
A combination of direct and diffused light is best for creating eye-catching images. To give yourself lighting options to work with, invest in some studio strobe lights, continuous lighting, LED lights, and simple flash units.
Direct lighting works best for bringing out dispersion in a transparent gem, as well as asterism or a star-shaped sheen and chatoyancy or a single-lined sheen similar to a cat’s eye. However, too much direct light may result in glare.
Meanwhile, diffused lighting, which scatters light, accentuates the gem’s color.
A bonus tip: If your studio has plenty of natural light, you can cover up a window with a white cloth or paper and use that as diffused light for your shoot.
Staging the Gems
Another element that affects the lighting is the positioning of the gems. If you browse jewelry store catalogs, you’ll find a handful of common positions—top-down, frontal, and ¾ shot.
When we talk about the best angle for gems, we mean the angles that show the gem’s best colors, tonal elements, asterism, or chatoyancy. Their “best” angle often depends on their color and cut.
Most gemstones look their best when seen from the top down—you’ll see all its facets and the light they reflect. However, the frontal and ¾ shots showcase other elements of the piece, such as other stones or carvings.
Of course, gemstones have different characteristics and interact with light differently, so it’s always best to experiment with different positions and camera angles.
While documentary and e-commerce photos typically prescribe these angles, gemstone photography is not limited to them. You can be daring with the gem positioning and camera angles for photos meant for marketing campaigns and social media posts.
Background Choices
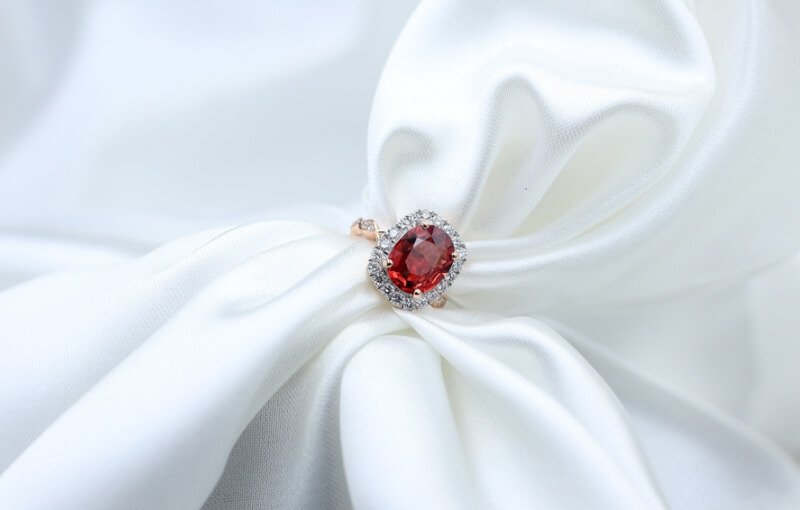
While a white background is the industry standard for documentation, photographers have the creative freedom to use other colors.
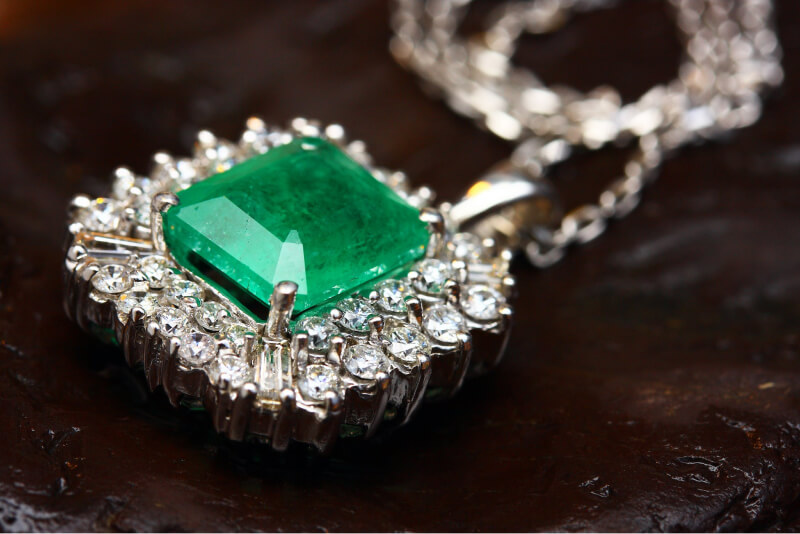
A good background will not compete with the gems. Generally speaking, you can’t go wrong by choosing high contrast between the subject and the background: Use a dark backdrop for a light gem and vice versa.
Another gemstone photo tip is to use reflective surfaces, which adds a dramatic effect to images. Though you can achieve this on white reflective surfaces, reflections tend to be more pronounced on black surfaces—which you can always enhance with jewelry photo retouching.
Using Props
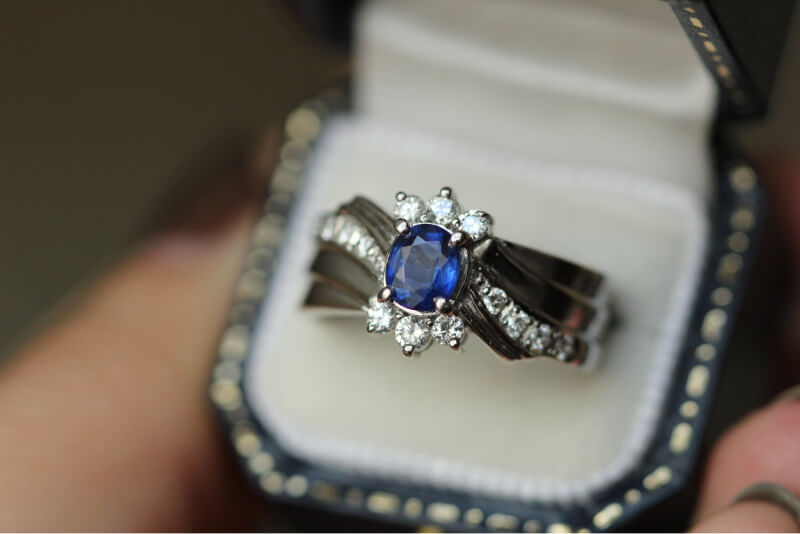
Some photographers or clients prefer using props for gemstone photos. Props can make photos of gems more creative, but they can also serve valuable functions, such as establishing the gem’s size or lifestyle shots.
However, as with all things, be careful not to overdo the props because they can be distracting in the photo. Use them to direct the focus to the real star of the show—the gems.
The props should always make the gems look better.
Avoiding Reflections
While gems don’t produce mirror-like reflections, it is possible to see camera and light reflections on them.
These types of reflections are different from the gem’s sparkle. Square light, for example, produces unnatural square reflections when not angled properly.
Such reflections affect the overall quality of your photos. They also tend to be distracting for viewers and do not contribute to the images.
Explore different lighting options and camera angles to learn how to photograph gemstones without unwanted reflections. Some lighting styles you can try are:
- Overhead lighting
- Large light positioned near the gems
Photo Processing
No photo is complete without some touch-ups.
With the healing brush tool or the clone stamp tool, remove any imperfections in the images, such as any dirt or smudges in the background, visible sticky wax or stands, and dust that may cling to the gems.
The camera cannot always pick up the micro details that make gemstones captivating to humans. You can bring the images closer to the true beauty of the gems with a little jewelry photo editing with Photoshop.
Make cuts and light reflections brighter and paint in color if necessary. You may also add sparkles to the gemstones to make the gems appear rarer, more desirable.
Just don’t edit too much to the point of distortion. Retouching should be undetectable to the viewers.
Make Each Photo Shine with Jewelry Retouchers
Are you ready to make your photos as alluring as the jewelry in real life? Try these expert-approved tips for taking pictures of gemstones on your next photo shoot. Remember that gemstones have unique characteristics that require different techniques.
Ensure that each photo is perfect with professional jewelry photography editing. Tap Jewelry Retouchers to bring your photos closer to perfection.


